SAME DAY SHIPPING!
Hurry offer expires in
How to Find a Broken Dog Fence wire. If the Dog Fence Transmitter is beeping, It means you have a broken wire somewhere around the invisible dog fence perimeter. You will need to locate the break in the wire and fix it. This review shows a series of steps to help you locate the break in the wire and perform the repair.
How do I find and Fix a Broken wire in my Electronic Invisible Dog Fence?
1. How do I know If my Dog Fence Wire is broken?
2. Short Loop Wire Test - Test for a break with the Dog Fence Transmitter
3. Physical and Visual Test to find the Broken Wire
4. Test the buried wire leading to the fence - ‘Return Short Circuit Loop’
5. Bypassing any Underground and Buried Dog Fence Wire - A Bridge
6. How to Fix the Broken Dog Fence Wire
Do you need to buy more dog fence wire to replace any old and damaged wire?
We get a lot of calls from people asking us “How do i find a break in my Dog Fence Wire?” The answer can either be a long or short journey. Some people get lucky and find it straight away, others usually find it in the last place they look… and that’s called Murphy's Law.
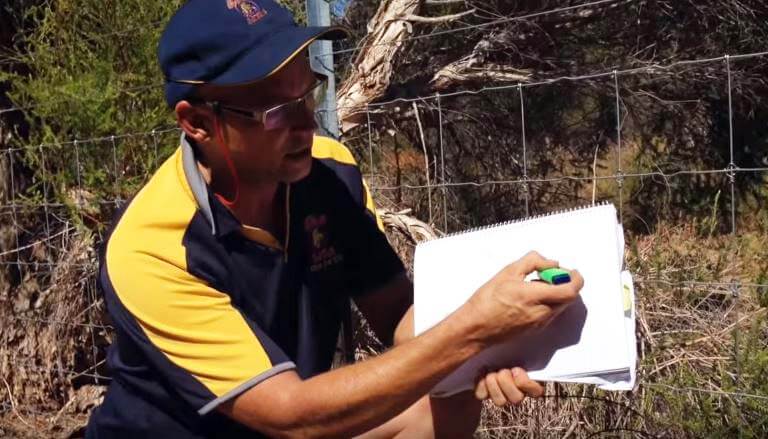
We did a short video on ‘Finding a break in dog fence wire’
So let's go through the steps and find out how to find a break in the dog fence wire. First, we need to establish that the break is in the wire, and not the transmitter. Then, we can start the process of elimination and find where the break in the wire could be.
But before anything else… Try to think of any recent events where a gardener may have been doing some digging. Then, you can just go to the area where they were working and inspect the wire there. If you’re lucky and assuming it’s the only break in the wire, skip straight to step 6. If not, keep reading.
1. Test the Transmitter to make sure it is just a Broken Wire
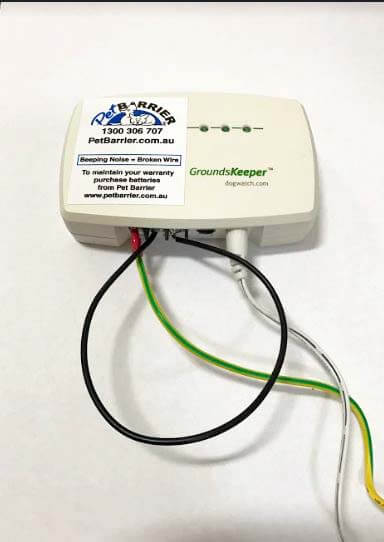
You could have a system that doesn't have any lightning and surge protection on it and when lightning strikes, there’s a spike of energy that goes to the transmitter that can damage the circuit board.
Click here to see how the Dog Fence Transmitter works.
So, quite simply - if your transmitter is beeping - it is a good sign… it is more than likely a break in the wire. If so, follow the steps below.
2. Do a Short Loop to test for a broken dog fence wire
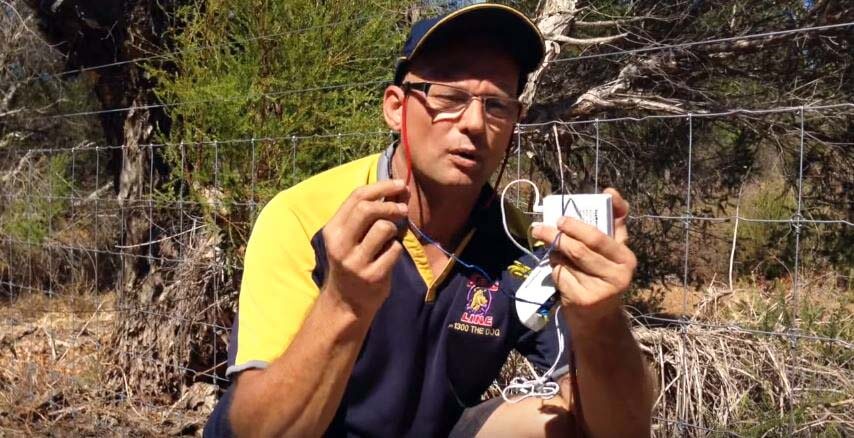
There is a simple way to do this. Just follow the steps below:
Basically a short loop disregards the rest of the property and ‘Arcs’ or ‘Bridges’ the radio signal straight back to the transmitter to close the loop. (You should not get Zapped as this is a radio signal)
a. Check your transmitter and look for the two wires coming from the main connection to the transmitter - find where they join at the transmitter.
b. Disconnect both wires from the transmitter. (If you have an external surge protector you can just do the short loop there.)
c. Get a length of test wire or a paper clip to put inside these two contact points where the wires were connected.
d. Connect the test wire to form a loop.
e. If the beeping stops, then we’ve established that it is indeed a wire break and your transmitter is working properly.
Another simple solution to test if you have a dog fence wire break is to use an ohmmeter and check the continuity on the disconnected wires. If there is zero resistance on the wires then you have a wire break.
Note… this may give you a false reading as if it is a bad connection it may let the test through - but not the radio signal - remember the is radio frequency not electricity you are dealing with.
3. Do a Physical and Visual Check to find a break in the Dog Fence Wire
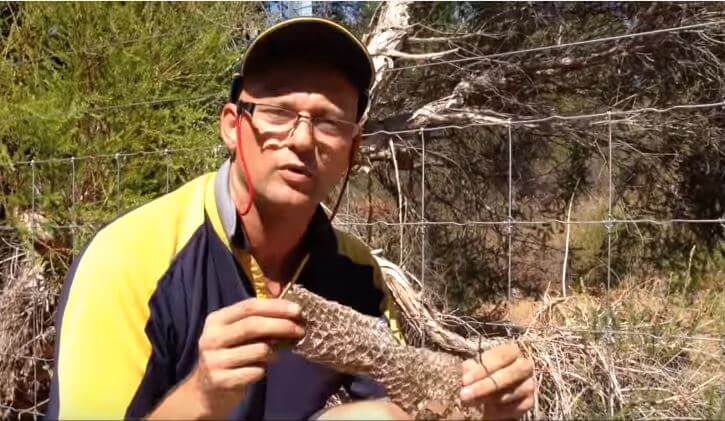
The usual reason for a broken dog fence wire is physical damage, i.e. gardening, weed whacking, edging, and pesky rodents. If you know where you may have had some work done, you can go straight to that location and start your check.
If you don’t know where to start, you can follow these steps to find out:
a. Note that you can only use the physical check to find a broken wire in your dog fence if the wires are not buried underground. If they are, it will be tackled in the next section.
b. Begin your visual check at the transmitter, where you first see the wire above ground.
c. Walk around the dog fence wire, give it a tug, see if it has tension or if it is loose.
d. Follow the wire around your property and look for areas where they may have been twisted or chopped. (It may be an internal break)
e. Walk around the dog fence wire system and pay attention to areas where there is heavy traffic like pathways, driveways and sidewalks. These are also the most common places to find a broken wire.
Note… you may have more than one break… so if you make a temporary repair - keep going.
4. ‘Short Circuit Return Loop’ -Test for a broken wire where it is buried leading to the fence
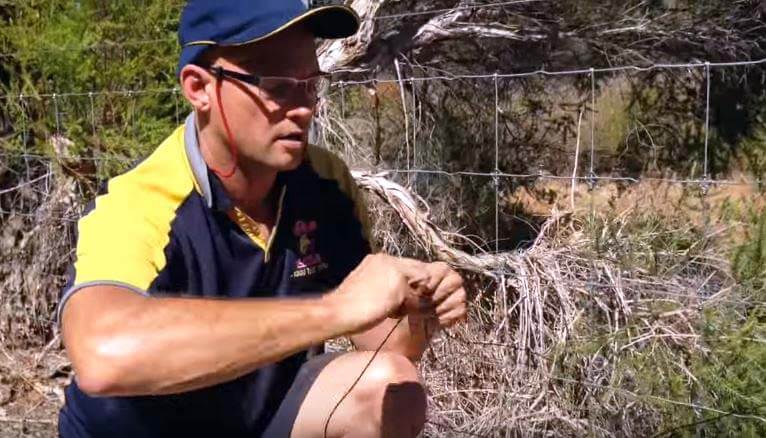
In order to check the wire break without digging up all of the buried wire, you’ll need to test the circuit between the fence and the transmitter (the twin pair running to to fence)
You just need to cut them at the fence and join them together to send the radio signal back to the transmitter. If it stops beeping, there's no break underground. Rejoin them and carry-on.
5. Bridging the Underground Wire to find the broken wire
In this test, you need to have enough wire to go across the driveway for a test bridge. You can use this test on underground dog fence wire such as the driveway - gateways and around gardens etc.
Simply cut the wire on both sides of the driveway and Bridge across with the new wire.
Some people have spliced into the wire - the signal will take the shortest route home so it will disregard the buried wire.
If the beeping stops, the break is in the wire buried under the driveway. So just run a new electronic dog fence wire underground.
If the beeping continues, then you know there's no break on the wire underground the driveway. (But leave that wire there… you may have 2 breaks)
Then, you go to the next phase, next gateway and do bridging again until you find where the wire break is.
6. Join and Fix the Broken Electronic Dog Fence Wire
Now that you know where your wire break is, the final step is to repair and fix the broken dog fence wire in a way that is weatherproof and secure. Best way is keep it simple -
a. Strip the wire
b. Twist the ends together - ‘butterfly twist’
c. Tie a knot in it
d. Wrap in electrical tape
e. Fold it over a couple of times
f. Wrap it again
g. Leave extra slack around the property for joins if you get a break in the wire.

If the wire is too short to re-join, you can use your test wire to make the connection. Once you are sure that the dog fence wire is operating correctly, return it back to the area where it’s supposed to be.
Our final words on How to Find and Fix an Electronic Dog Fence Wire Break

You can put the wire inside some poly pipe to protect it from Whipper Snippers.
If you want an easier solution to fix the wire break, you can email us, call us or chat with us so we can do the finding and fix for you. We can also discuss on Electronic Dog Fence wire that will give you long-lasting results.
Here for you and your dog, Colin Seal
 The Dogline


